If you have decided to buy a wood turning table, you can now make your very own wooden lathe! This machine will allow you to create intricate shapes and beautiful art. Before buying, make sure you read this article first to understand the basic features that you should look for. Consider the following before you make a purchase: Rotational speed; Spindle roughing gauge; Respiratory equipment and many more.
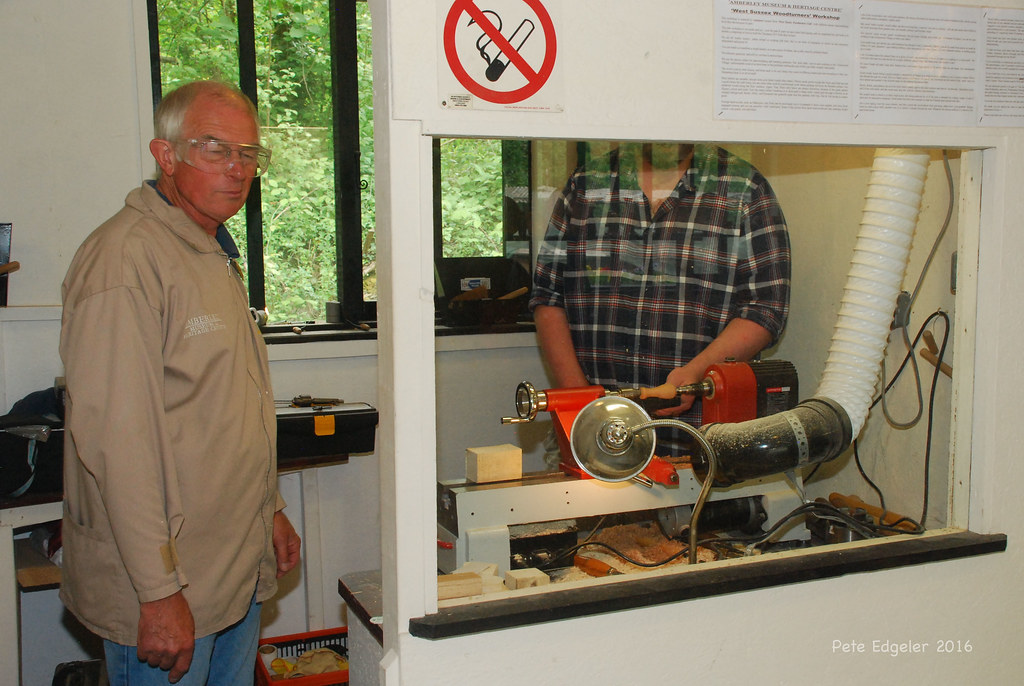
Lathe
Before you buy a wood lathe, make sure that you choose the right one to suit your needs and budget. Because it affects the speed of your machine, it is crucial to choose the right one. The motor also needs to be regulated. Make sure you check the voltage of the power source. Your investment will be protected if the table has the proper power source.
It is also important to consider the swing and diameter of your lathe. A 15-inch lathe will turn an item upto 15 inches in length, but it will require 7 1/2 inches between the spur centre and the bed surface. Lathes usually have a swing range from 10 to 17 inches. You should swing higher if your items are larger than 10 inches. If you plan on making a lot of large-diameter turnings, you should consider a lathe with a large-sized swing.
Rotational speed
You must first decide what your purposes are before choosing the right RPM range. If you are making heavy roughing cuts, then you will need a lower RPM than if your goal is to make finer finishing cuts. A higher RPM range is recommended for wood with damaged or deteriorated condition.

The calculation for the RPM of your wood-turning table revolves around the concept of surface speed, which is the speed at which wood moves past the cutting edge. The suggested range runs from the lower to the highest end at 18 miles per an hour. At the top, it is around 2,500 foot per minute or more than nine thousand RPM. But safety and balance are not the only considerations. Safety reasons may require you to use a lower RPM if your are a beginner.
Spindle roughing Gouge
A spindle rounding gouge is a versatile tool, which can create shallow concave forms and long tapers. Start at the middle of a square blank and use the spindle roughing gouge to nibble away the corner. Next, you will need to shape the tool's profile by grinding and honing. The final step is to attach the edge to the shape.
There are three sizes of roughing gouges: large, medium, or small. Generally, you should use a 3/4-inch gouge when starting out, as a larger one will be more helpful for turning spindles out of large pieces of split wood. M2 High Speed Steel will maintain its edge well for many rounds. A larger gouge can be used for larger projects. However, a smaller one works for most spindle turn projects.
Equipment for the respiratory system
If you're a woodturner, you'll need to wear protective gear such as safety goggles, glasses, or a visor. A visor that covers the entire head offers the greatest protection. Although it's nice having a tabletop to make turning easier, you must also protect your health. To protect yourself from harmful particles in the air, you will need to use respiratory protection equipment.
Protecting your lungs against fine wood dust starts with a mask. For wood dust protection, paper dust masks do not suffice. Multi-level dust protection is necessary. It filters the air inside your shop and provides personal protection. There are many choices on the market: full-face respirators or filters. This will protect your workshop from fine wood dust.
Missing the right technique or using the wrong tools
There are many mistakes that can be made when turning wood. These mistakes could lead to serious injuries and worse, even death. These mistakes can be deadly and you should learn as much as possible about woodturning safety. Follow all safety guidelines and instructions from the manufacturer. Talk to an expert if in doubt. If you have any questions, a woodturning expert can help.
Pay attention to your swing when turning wood. Only a small amount of the surface area is cut by a bowl gouge. Avoid aggressive bowl turning. The cutting edge can be too sharp and can cause the wood's to grab. Instead, take slow and gradual steps until you achieve your desired shape. Misapplying a technique or using the wrong tool can lead to a poor finish and failure to achieve the results you are after.
FAQ
How long does it take for furniture to be finished?
It depends on the type of wood you choose, the complexity of the design, and the amount of finishing you apply. For example, hardwoods require more maintenance than softwoods. Hardwoods also tend to be more expensive than softwoods. However, they are stronger and more resistant to moisture. It takes between one and three months to finish a piece.
How can a novice woodworker make it big?
Many people are starting to learn how to build furniture because they want to start an online business. However, if you're just getting into furniture building, there are other options than selling on Etsy. Sell at craft fairs or other local events. Or you could offer workshops for others who want to learn how to build their own furniture. Consider offering your services if you have previous experience as a builder or carpenter.
Do you have any advice on how to start a woodworking business.
It is hard work to start a woodworking company. If you are passionate about your hobby, it will not be difficult to put in the work. You might even enjoy running your own business.
It is important to remember that unexpected problems may arise when you start a new venture. You might run out money, or you may have to borrow unexpectedly. You might find customers not willing to pay the amount you expected. You need to be ready for these situations if you want to survive.
Set up a separate account in your bank for your business. You will always know how much money you have coming in.
Statistics
- Average lumber prices rose about 600 percent between April 2020 and May 2021. (familyhandyman.com)
- In 2014, there were just over 237,000 jobs for all woodworkers, with other wood product manufacturing employing 23 percent; wood kitchen cabinets and countertop manufacturing employing 21 percent. (theartcareerproject.com)
- Overall employment of woodworkers is projected to grow 8 percent from 2020 to 2030, about as fast as the average for all occupations. (bls.gov)
- The best-paid 10 percent make $76,000, while the lowest-paid 10 percent make $34,000. (zippia.com)
External Links
How To
How to drive a nail through wood
When driving a nail into wood, it is important to first choose the correct size and kind of hammer. The most common types of hammers are claw hammers, sledgehammers, mallets, ball peen hammers, and hatchets. Each type of hammer comes with its advantages and disadvantages. A claw hammer is best for hitting nails or hard objects. However, it can be difficult to pinpoint exactly where the blow will land. The sledgehammer works well for large areas, but is too heavy for smaller tasks.
After choosing the right hammer, place your hand flat against the side of the head so that the handle rests comfortably in your palm. Grip the handle firmly, but don't squeeze it so tightly that you hurt yourself. Hold the hammer straight up, keeping your wrist relaxed. Now, move the hammer towards the center of the nail by swinging it back. The impact of the hammer hitting the nail should be felt. If you're having trouble getting the hang of swinging a hammer, practice with a block of wood until you get the rhythm down.
Hold the hammer near your body until you're ready for the nail to be driven. You will need to position the nail so it is parallel to the wood. Keep your eyes focused directly on the tip of the nail. Swing the hammer forward, then follow through with the motion of the hammerhead. Repeat this action several times, gradually increasing the speed of the swing. After mastering the technique, you can add power to your swings. You can hold the hammer over your shoulder and forcefully bring it down. This will help you put more energy behind each of your moves.
Once you have successfully drilled the first hole in the nail, remove the hammer. To remove the remainder of the nails, you can use a screwdriver/pry bar. To prevent splitting the wood, ensure you keep the nail heads flush against the board's surface.