Scroll saw patterns are made from many different types of wood. There are also considerations for the number of sheets and the size. Scroll saw patterns are also available in full-size publications to make this project easier. These patterns can be printed on one page and cut straight from the book. These books are great for beginner woodworkers and experienced scroll saw users alike.
Wood requirements
For scroll saw train designs, you will need many different wood types. Woods like cherry, walnut, or oak are very popular. Birch is another great choice but tends to absorb stain more irregularly than oak. For other projects, you may need to use exotic woods like mahogany or walnut. Avoid using fir or luan plywood. Walnut and cherry are excellent choices because they are both relatively inexpensive and have high strength-to-weight ratios.
For beginners, it is best to not cut intricate patterns until you are more experienced. Beginning woodworkers should adhere to the lines drawn on the wood, and then slowly merge into them. It is important that you remember that scroll saw blades don't have the ability to cut straight lines. This means that you will need to guide the wood onto a table using your hand. Don't push the blade into the wood. You should be able to see the wood that your scroll saw can cut.
Pattern size
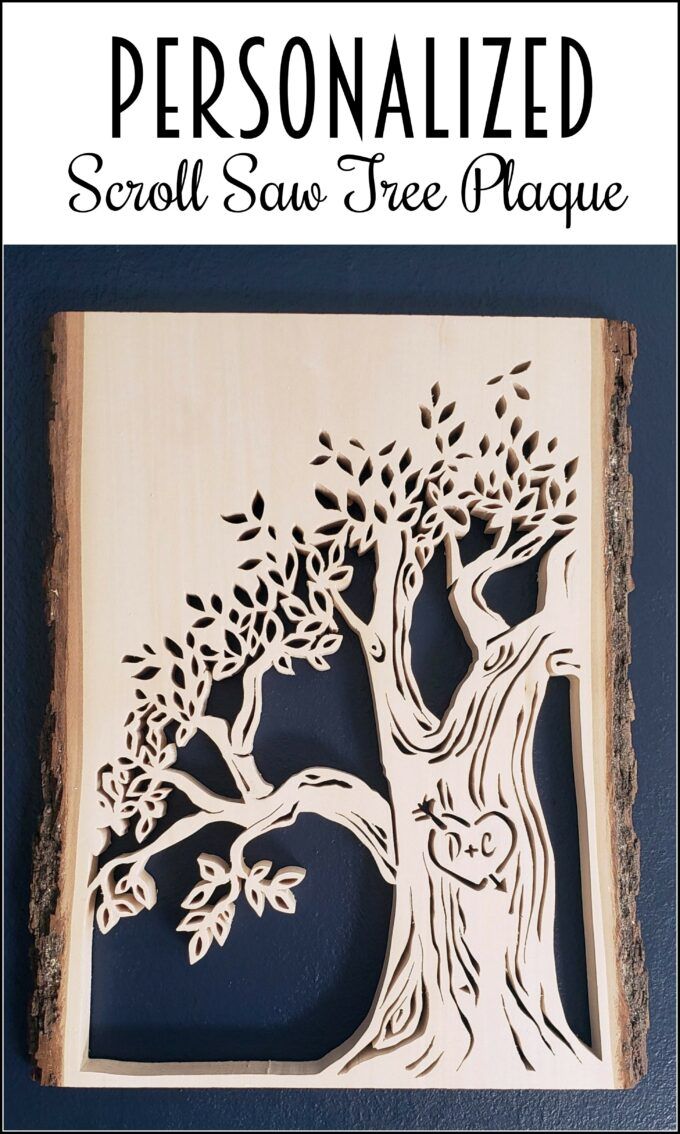
There are many Scroll Saw Train Patterns available on different websites. Depending on what you're making, you can create a full-sized yard art image or a small scroll saw shelf project. Scroll saw train patterns come in various sizes to fit any project. The patterns can also be divided on to multiple A4 or Letter-size sheets. These patterns can also be printed and cut directly from the book.
It is best to start small for beginners. A coaster set, a hangerbox, a VW Beetle plaque and a heart jewelry trees are some of the most common scroll saw patterns. You can download some of these patterns for free so that you can print them. After you have found the perfect design, it's time to start building. There are so many options! Just remember that scroll saw patterns come in all shapes and sizes, and you can even make them large!
Numbre of sheets of required paper

Scroll saw train patterns can also be printed and used for large-piece practice. There are no inside cuts and the designs can be printed full-size. These patterns save you time and money by not needing to enlarge. Print out the pattern on one side and cut out pieces as required. Next, use the copied copy to create practice pieces for larger projects. But remember that your practice pieces don't have to fit together.
Clear packaging tape is an alternative. It will keep wood fibers and other debris from sticking to the design. Some scroll sawers use painter's masking tape. It is stronger than regular newspaper. Some others use a mixture of clear packaging tape and painters tape. In any case, it is important to carefully read the instructions and learn how to use them. You will not ruin your patterns this way.
Evolution of the scroll saw
The origins of the scroll saw are obscure, despite the fact that the first patent for a reciprocating steel blade was issued in Great Britain in 1829. It is not clear when the scroll saw first appeared in Western Europe, but its earliest forms date to prehistoric civilizations, when woodworkers used knives to create intricate cuts. This method of cutting wood was called fretwork, and traces its history back to the earliest civilizations.

Today's scroll saws can make intricate cuts thanks to their design features. In addition to being more versatile, many scroll saws now have tilting tables, which enable users to cut materials at an angle and produce beveled edges. Some can tilt as high as 45 degrees, others tilt to either the left or right, while some can tilt both directions. If the tilt is too much, you can flip the material to the other side and cut the bevel. Modern models include an integrated sawstand that allows users to work more comfortably while standing.
FAQ
What kind wood should I use for my project?
Oak, maple, cherry and mahogany are the most common wood types used for woodworking. Every type of wood is different and can have a unique look and feel that will affect the final product. Oak, for example, tends be darker and more hard than other woods. Birch, which is lighter and soft, is more heavy than mahogany. You can also choose from solid wood or veneers. Veneers consist of thin sheets made from wood and glued together to form a single layer.
How can I keep my shop organized?
The first step toward keeping your workshop clean and organized is to set aside a designated area for storing tools. Make sure your tools are clean and free of debris and dust so they can be used properly. To hang accessories and tools, use pegboard hooks.
How much will it cost to get started?
Because every project is unique, there aren't exact numbers. These factors will help you get an estimate of how much money is needed.
-
Material costs
-
Tools and equipment
-
Time spent on the project
-
The hourly rate
-
What profit are you expecting to earn?
-
No matter if you are looking to hire someone
Start small, if possible. You can make simple boxes or picture frames if you're just getting started. You will gain more experience and be able to tackle larger projects.
What time does it take for furniture to be finished?
It depends on what size piece of furniture you have. A smaller project like picture frames or boxes can be completed in a single day. Larger projects, such as desks and dining tables, can take several days. It takes time to stain and seal the wood properly.
Do you have the skills to learn woodworking?
It is best to do it yourself. Woodworking is an art that takes patience, practice, skill and experience. Any craft requires patience to master.
The best way to learn how to do something is actually to do it. Start small, and work your way up from there.
Statistics
- In 2014, there were just over 237,000 jobs for all woodworkers, with other wood product manufacturing employing 23 percent; wood kitchen cabinets and countertop manufacturing employing 21 percent. (theartcareerproject.com)
- Woodworkers on the lower end of that spectrum, the bottom 10% to be exact, make roughly $24,000 a year, while the top 10% makes $108,000. (zippia.com)
- The U.S. Bureau of Labor Statistics (BLS) estimates that the number of jobs for woodworkers will decline by 4% between 2019 and 2029. (indeed.com)
- Most woodworkers agree that lumber moisture needs to be under 10% for building furniture. (woodandshop.com)
External Links
How To
How to join two pieces of wood together without nails
Woodworking is a favorite hobby. It's fun and relaxing because you can use your hands to make something useful from wood. However, there are times when you want to join two pieces of wood together without having to use nails. This article will explain how to do this so that your woodwork projects stay beautiful.
The first thing you'll need to do is cut off any rough edges from your pieces of wood before joining them together. You don't want any sharp corners to cause problems later. Now it's time to start glueing your boards together.
If you are working with hardwood, only one side should be glue. Use glue on both the sides for softwoods, such as cedar or pine. Once you have applied the glue, press down on the boards until they are fully attached. Make sure you let the glue dry before moving on to the next step.
After you glue your boards together, drill holes at the joints where screws will be inserted. The size of these holes depends on what type of screw you choose to use. For example, if your screw is a 1/2-inch wooden screw, drill a hole that is at minimum 3/4 inches deep.
Once you've drilled your holes, you'll want to drive the screws through the joint and into the backside of the board. Do not hit the boards' front surfaces. It will ruin the finish. Try to not hit the ends of the screws when driving the screws. This will help prevent splitting of the end grain.
You'll need to protect your completed project from the elements. You have two options: seal the whole furniture piece or just the top. Either way, you'll want to use a product that will last for years to come. Oil-based varnishes are, among others, polyurethanes shellac, laquer, and other oil-based products.
These products can be found in most home improvement shops. Just make sure that you buy the right kind for the job. Keep in mind that certain finishes can be toxic and should not be used indoors. Always wear protective gear when handling any of these finishes.