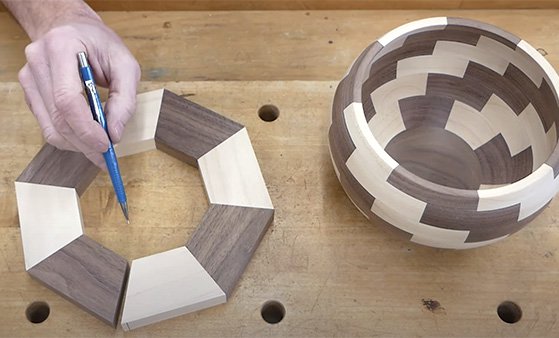
You can use a template router aid to cut out shapes on plexiglas. This tool can be used to quickly create complex designs using the router. This guide will discuss some of the top templates and their features. Also, you'll learn about Festool plungers, Flush trim and pattern bits. These tools are essential for getting started.
Festool Plexiglas Template Routing Aid
You might be considering purchasing a Festool instrument. These tools have measurement guides and dust extraction. These features may not be necessary for you. You may not use it enough to justify its price. You might consider a simpler solution in these cases.
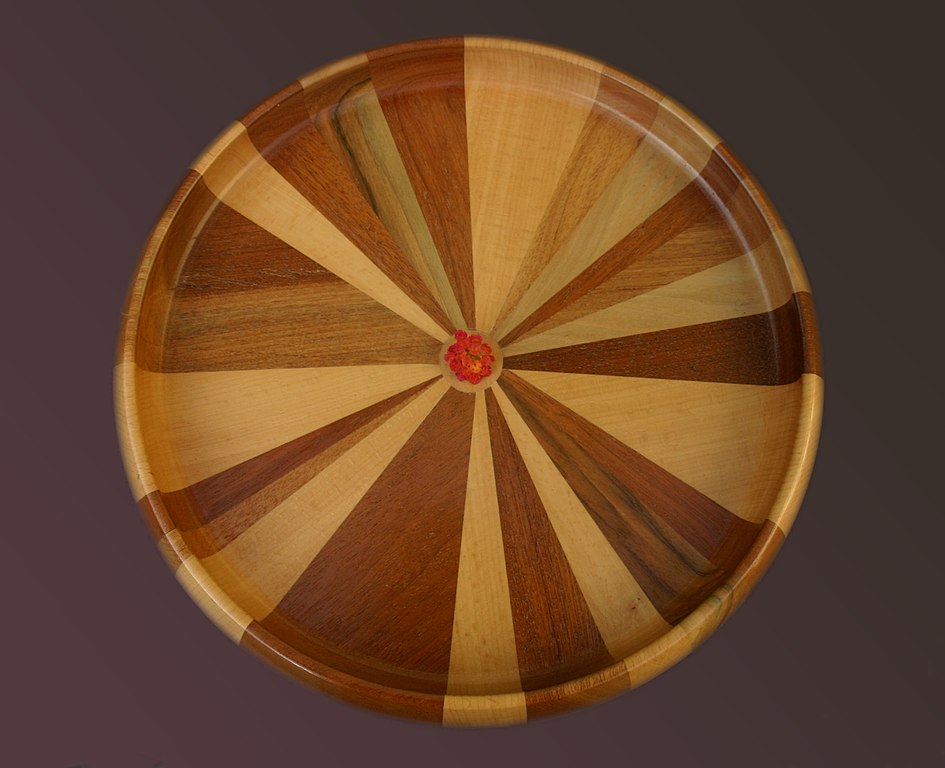
Festool Plexiglas Template Route Aid is versatile and can be used for cutting slots, grooves, or mortises. The tool has two adjustable fences that can be adjusted to accommodate different materials thicknesses and an integrated rule for creating grooves. The Festool Plexiglas Template Routing Aid works well for all types of projects, no matter if you're making a decorative or a framed item for your home.
Festool plunge routers
The plunge router is a popular choice among homeowners looking to make a template. They are easy to use, smaller in footprint and less than 10 pounds. They can be used on hardwoods, such as oak and maple. The plunge depth, power and angle of a plunge router can all vary. Make sure you get the right one for you. Read on to find out more about each type.
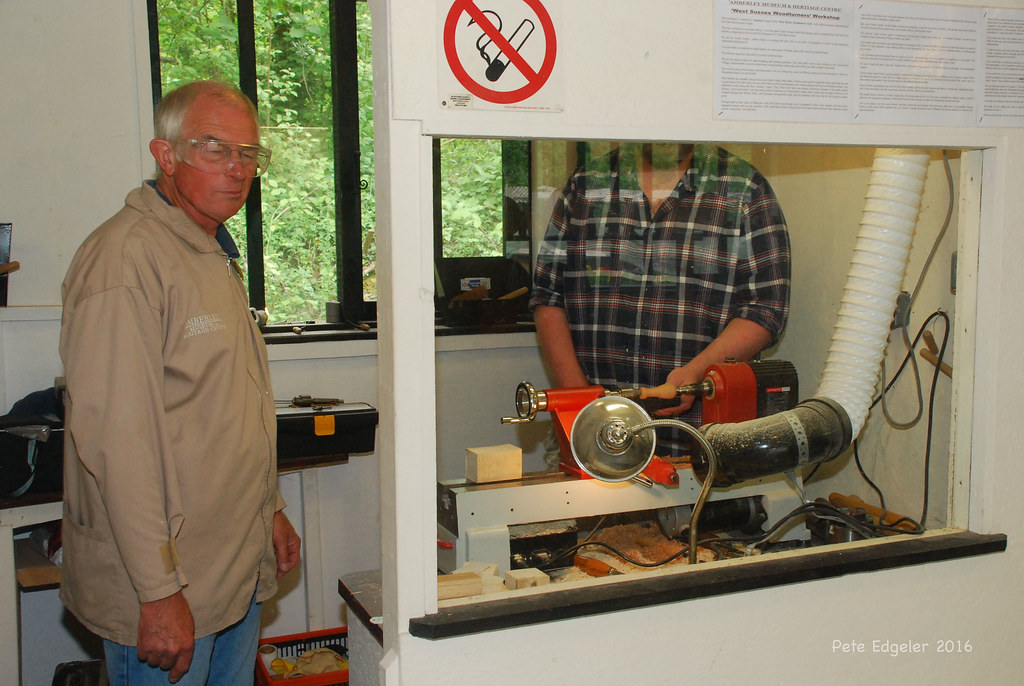
A plunge router comes with many accessories that can help you make perfect cuts, whether you are looking to create shapes or circles. The dust collection system for plunge routers is essential to ensure that the bit does not become clogged with debris. The plunge routers can also make perfect circles if attached to a template. These jigs are great for many purposes, including painting or sanding.
Flush-trim bits
A flush trim bit is the best tool for cutting veneers or laminates flush against the edge. These bits feature a bearing at the base of the shank that rides along the workpiece. The bit's sheering action forces the material to collapse, leaving a clean cut. Think of a paper shear: the base material acts like the table, while the down-cut bit is a long curved blade.
The essential tool for any woodworking shop is the flush-trim bit. They can be used to cut veneers, laminating, and for shelf edging. They're also useful for jointing edges that are straight and smooth. These router bits are the most commonly used ones in the shop. However, if you're planning on making more than a few pieces at a time, you should consider purchasing multiple bits in a variety of sizes. Flush-trim bits that measure 1/2" in diameter are an excellent choice.
Pattern bits
A template routing tool that uses pattern bits to make repeatable patterns is called template routing. They are made with a ball bearing mounted in the center and allow the template to be held over the workpiece and ridden along with the router bit. They are an excellent choice for many purposes. Here are some of their benefits. These bits provide greater visibility and better control of your project. These bits are also compatible with handheld routers.
Combination bits come with bearings at both ends of the shank and tip. They eliminate the need to swap bits between templates. They come in straight and compressed cutters. Compression bits come with flush-trimming, pattern, and over/under bearings. These router bits have a smoother surface that spiral bits, but they are more costly. Use a combination bit that is guided by a template bearing bearing to get the best results.
Take off on the climb
You may have heard the term "climb cuts" when you are trying to make a wood template. These are circular-shaped cutting techniques that produce precise and clean cutouts along end grain. They can also cause wood chipping and tearout. You may not be able to correctly perform climb cuts within your template routing process. Read on for more information. Climb cuts should only be used for complex patterns.
A climb cut refers to the reverse of a regular feed. The bit is rotated in the opposite direction to the feed. The cutter tries to accelerate the material in the same way as the wood, instead of resisting it. If this cut is done incorrectly, the cutter can easily grab the work and pull it out with tremendous force and speed. Climb cuts are essential to minimize tearout. The bit enters and exits through the cut face.
Inset between router and template
Offset refers to the distance that a router bit cuts from a guide. Calculate this distance by multiplying bit diameter by guide bushing diameter and then divising by 2. This table illustrates the typical offset values used for most commonly-used router-bit and guide bit combinations. Remember that offset values can vary from too large to too small. In the example below, the offset is 1/4.
The offset between the router bit and template routing is normally about 1/8" or 0.335". This offset is crucial because it ensures that the bit fits into the bushing if it isn't perfectly centered. A template can be misaligned, or lopsided, which makes it more difficult to route. This can be corrected by simply adjusting the offset. You can adjust the offset to match the profile if you're trying to rout a mortise.
FAQ
How can you calculate woodworking pricing?
When calculating the costs of any project, it is important to keep them as low and affordable as possible. It is important to ensure that you are getting the best materials prices. Also, consider all other factors that can affect the price of your projects such as skill level, experience, time and cost. Check out our guide on the average cost of common DIY projects to get an idea of how much you can spend on woodwork projects.
Where to buy Hardwood Lumber
Home Depot has hardwood lumber for sale. They carry a variety of wood products such as flooring, cabinets, and furniture.
A wide range of engineered hardwoods are also available, such as Ipe and Brazilian Cherry (Pau d'Arco), Mahogany and Swietenia Macrophylla.
You can search Google for hardwood lumber to find them online.
What kind of tools are used to carpenters?
A hammer is the most commonly used tool by carpenters. A hammer is useful for driving nails into wood. It also helps them hold pieces together while they are working on a project. Other tools include clamps.
Can I make my living doing this job?
Yes! Many woodworkers have this ability. According to the U.S. Bureau of Labor Statistics' (BLS), in May 2012 the median annual wage of woodworkers was $34,000 That's higher than the national average of $31,000 per year.
Statistics
- If your lumber isn't as dry as you would like when you purchase it (over 22% in Glen Huey's opinion…probably over 10-15% in my opinion), then it's a good idea to let it acclimate to your workshop for a couple of weeks. (woodandshop.com)
- Woodworkers on the lower end of that spectrum, the bottom 10% to be exact, make roughly $24,000 a year, while the top 10% makes $108,000. (zippia.com)
- The best-paid 10 percent make $76,000, while the lowest-paid 10 percent make $34,000. (zippia.com)
- Most woodworkers agree that lumber moisture needs to be under 10% for building furniture. (woodandshop.com)
External Links
How To
How to drive a nail through wood
When driving a nail into wood, it is important to first choose the correct size and kind of hammer. Claw hammers include mallets, claw hammers (sledgehammers), mallets, ball-peen hammers, hatchets, and mallets. Each type has its strengths and weaknesses. For example, a claw hammer works best when you want to hit something hard, like nails; however, it's difficult to control precisely where the blow lands. A sledgehammer allows you to hit large areas simultaneously, but it is too heavy and cumbersome to use for small tasks.
After choosing the right hammer, place your hand flat against the side of the head so that the handle rests comfortably in your palm. Grip the handle firmly, but don't squeeze it so tightly that you hurt yourself. You should hold the hammer straight-up, with your wrist still relaxed. Then swing the hammer back toward the ground, aiming for the center of the nail. You should feel the impact of your hammer hitting the nail. Try practicing with a block to help you master the art of swinging a stick.
You can now drive the nail by holding the hammer to your body. The nail should be perpendicular to wood's surface. Keep your eyes focused directly on the tip of the nail. Move the hammer forward and then continue to move the hammerhead. Keep doing this until you are comfortable with the swing. Try adding power to your swings when you've mastered the technique. Hold the hammer high above your shoulders and pull it down. This will allow you to exert more energy.
Once you've nailed the first hole, remove the hammer from the nail. The rest of the nails can be pulled out using a screwdriver, pry bar, or a hammer. You should ensure that the nails are flush with the board's surface to avoid splitting the wood.