You can now take a woodturning class if you've ever wanted to make your own spoons and bowls. Mesa County Libraries will be hosting a "Learn About Woodturning” workshop for the community. Grand Valley Woodturners member, Instructor Buck Taylor, will show participants how to turn wood and provide the tools necessary for making the pieces. He will also cover the basics and different types woods, as well the tools needed to make them.
Basics of woodturning
Woodturning is one discipline where you can do it yourself. As such, you may end up with something completely different from your original concept. Woodturning is a very rewarding skill, which allows you to make decisions as you go. Woodturning offers a freedom that allows you to create wood pieces in almost any shape or design that you desire, something that is not offered by most woodworking disciplines. You can turn amazing masterpieces by following these simple guidelines.
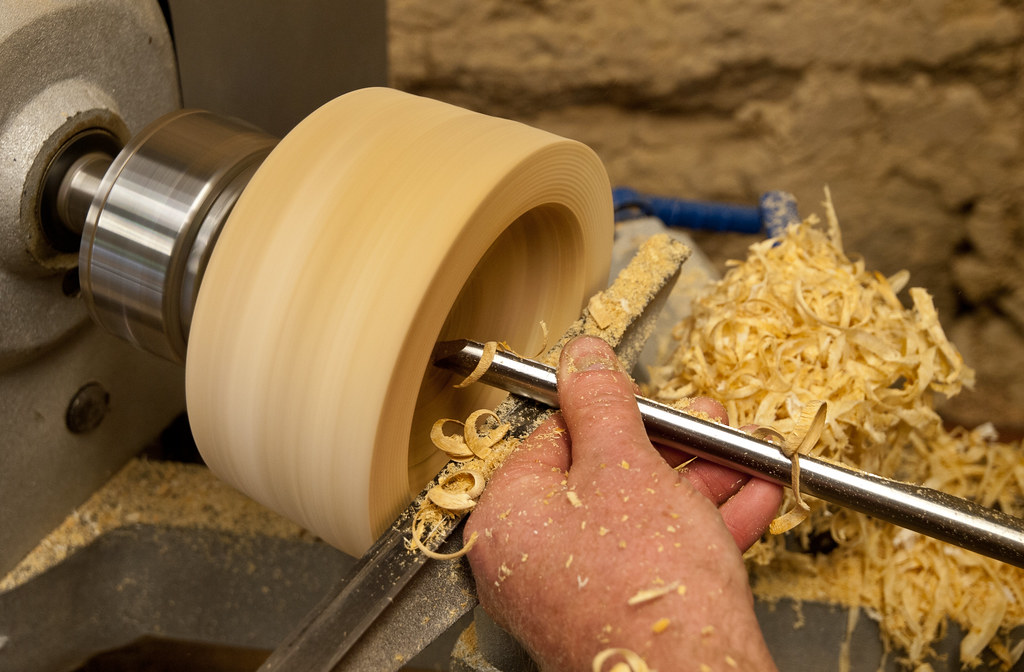
You need to learn about the equipment needed before you start woodturning. The project requires a lathe, safety goggles, sharpening and wood shaping tools, as well as safety tools. The tools you'll need aren't expensive or large; some beginners make their own lathes from a power drill. For accurate turning the wood, it is important to determine the diameter and speed of the pulleys.
Techniques
A wood turning class will show you how to turn beautiful bowls from selecting the right logs to sanding the techniques. Additionally, you will learn how to turn natural edges and chainsaw logs. Furthermore, you'll be able to create unique designs as well as enhance your bowls by using various tools. No matter your level of experience, whether you're a beginner turner or a pro at it, these techniques will help you create beautiful bowls.
The Techniques for Wood Turning First Class will help you learn the basics. The instructor will show you how to make small bowls, spindles, and other basic woodturning tools. The instructor will also show you how to use the tools and wood needed to turn, as well as how to select the right type of wood and sharpen your tools. The class will provide you with a cutting table that is endgrain, finished bowls, and even a piece or end grain of wood.
Tools
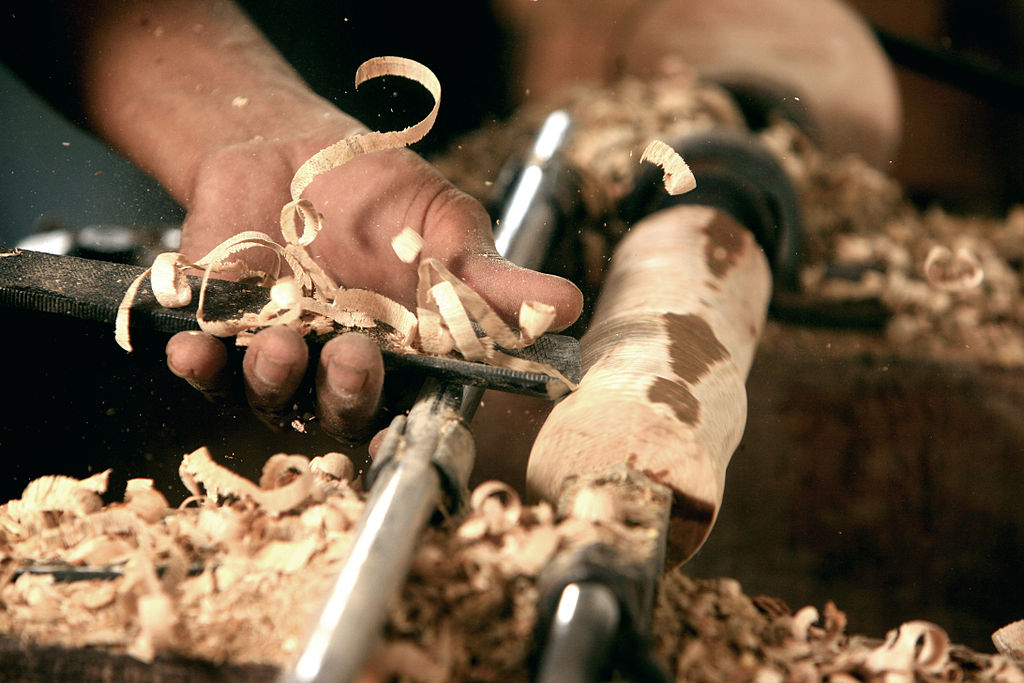
There are many types of wood turning tools that you can purchase. If you are a beginner, consider taking a woodturning class. The instructor will teach you everything about woodturning and how to select the right tool for your needs. The instructor will show you how to safely use a lathe. The instructor will teach you about lathe angles and chucking. You will have plenty of time to practice your skills at the lathe.
Different techniques call for different tools. Carbide tools work well for small projects. They also cost less than traditional HSS tool. Carbide tools are great for turning pen blanks and small bowls. Carbide tools allow you to master the basics of woodturning, while remaining affordable. This tool will help you make the highest quality products. Wikipedia has a fantastic article about woodturning that can help you choose the right tools.
Take a wood turning course in these places
There are many different places to take a wood-turning class. You can either take one lesson or a course that lasts a whole day. Or you could do both. You'll be able to take a class in any format you prefer, and you will leave with a new skill as well as a shallow cherry bowl. We've listed the top options to help you decide where to go next. The most suitable places to learn wood-turning depend on your interests.
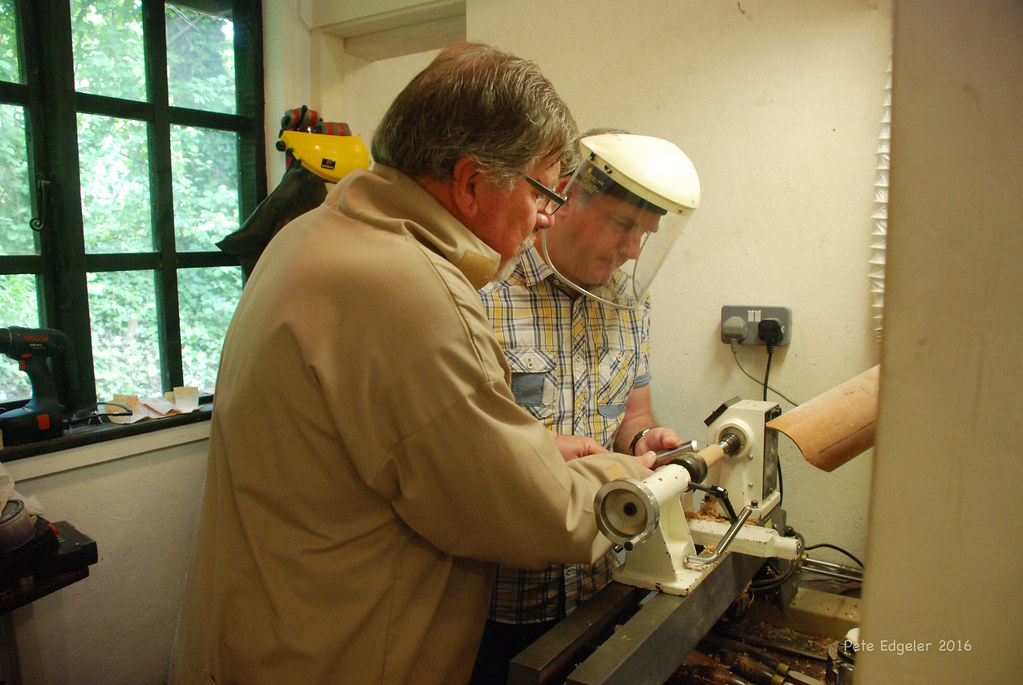
Woodturning classes are generally tailored to the individual student. You'll be guided step by step through the process, no matter if you are interested in individual tuition or group lessons. A 1-day class can cover all the basics from turning an object to sharpening tools to using a lathe. You can even learn how to apply food-safe finishes to your finished work in some classes.
FAQ
What tools work best for me?
It helps to reflect on your needs and preferences before you shop for tools. What do you prefer: metal or plastic handles? What size nails and screws do you usually use? Are you more comfortable using power tools than hand tools?
What tools do I need to start as a woodworker and what should I learn?
Woodworking takes practice and patience. It takes time and practice to master the various techniques and tools required for woodworking.
There are many kinds of woodworking equipment currently on the marketplace. Some prefer to use power tools, while others prefer to use hand tools.
While you have the option to pick what you like, it is essential that you get the right tool for the job. It may be a good idea to start with a basic set, if possible, if you don’t know much about hand tools.
You could also try learning how to use a router which is used to cut intricate shapes into wood. You can find these at most hardware stores.
Can I refinish furniture that I make?
Yes! You don't have to hire a professional to refinish furniture. There are many ways you can do it yourself. Here are a few suggestions:
Use sandpaper for removing stains and scratches. Finally, use a clean cloth or sponge to clean the surface.
Clear polyurethane varnish should be applied. Allow furniture to dry completely before you move it around.
Use acrylic paint to paint furniture.
Stain can be used instead of paint. The furniture will get a rich look with the stain.
Use shellac wax. The wax will add shine to the wood and protect it.
Statistics
- Most woodworkers agree that lumber moisture needs to be under 10% for building furniture. (woodandshop.com)
- Woodworkers on the lower end of that spectrum, the bottom 10% to be exact, make roughly $24,000 a year, while the top 10% makes $108,000. (zippia.com)
- If your lumber isn't as dry as you would like when you purchase it (over 22% in Glen Huey's opinion…probably over 10-15% in my opinion), then it's a good idea to let it acclimate to your workshop for a couple of weeks. (woodandshop.com)
- The U.S. Bureau of Labor Statistics (BLS) estimates that the number of jobs for woodworkers will decline by 4% between 2019 and 2029. (indeed.com)
External Links
How To
How to join hardwood without using nails
Woodworking is a favorite hobby. It's fun and relaxing because you can use your hands to make something useful from wood. There are times when two pieces of wood need to be joined together. This article will demonstrate how to do so to preserve the beauty of your woodwork.
You will first need to trim the edges of your wood pieces before joining them. You don't want to leave sharp corners that could cause problems later on down the road. Once you've done this, you're ready to start gluing your boards together.
If you are working with hardwood, only one side should be glue. You should glue both sides if you are working with softwoods such as pine and cedar. After applying the glue, press the boards firmly until they are completely stuck together. After applying the glue, let dry the boards before proceeding to the next stage.
After you have glued your boards, drill holes where you want to insert screws. Depending on what type screw you choose, the size of these holes will depend on how big they are. For example, if you're going to use a 1/2-inch wood screw, then you should drill a hole that is at least 3/4 inches deep.
Once you've drilled your holes, you'll want to drive the screws through the joint and into the backside of the board. You should be careful not to touch the board's front surface. This could cause damage. When driving the screws, try to avoid hitting the ends of the screws too much. This will prevent splitting in the end grain of the wood.
Protect your finished project now. You have two options: seal the whole furniture piece or just the top. You will want to choose a product that will be durable for many years. There are many options: oil-based varnishes; polyurethane; shellac; lacquer.
These products can generally be found in any home improvement shop. Be sure to choose the right one for your project. Some finishes are toxic and should not ever be used indoors. So, always wear protective gear when handling them.