
This article will show you how to join corner corners of picture frames. This guide will explain how to use a Rockler Precision Gauge, including miter, bridle, and half-lap joints. Then, you'll be well on your way to making the most impressive frames. Check out these tips and techniques. In no time, you'll be a master of picture frames!
Miter joints
A miter joint is when two pieces of wood are joined together at a 45-degree angle. This angle ensures that the two pieces can be joined seamlessly when butted together to form a corner of 90 degrees. For picture frames with unusual shapes, you can make miter joints from different angles. For example, a picture frame that is eight-sided will have eight 45-degree angles, while a five-sided frame will have five 72-degree angles and two at 36-degrees.
Half-lap joints
There are four types that can join picture frames. There are three types of joints that can be used to join picture frames: pocket screws, miter joints, and half-lap joint. The sturdy half-lap joint creates a seamless, smooth finish when it is joined. Although miter joints are most commonly used, you might be able use your own tools. It doesn't matter which type of joint is used, you can still experiment with them to discover the one that works best for you.
Bridle joints
Making a picture frame can be done using bridle joints (or pocket screws), or mitered joins. These joinery methods are both attractive and durable. They do require some trial and error to ensure that the joints fit correctly. Here are other options.
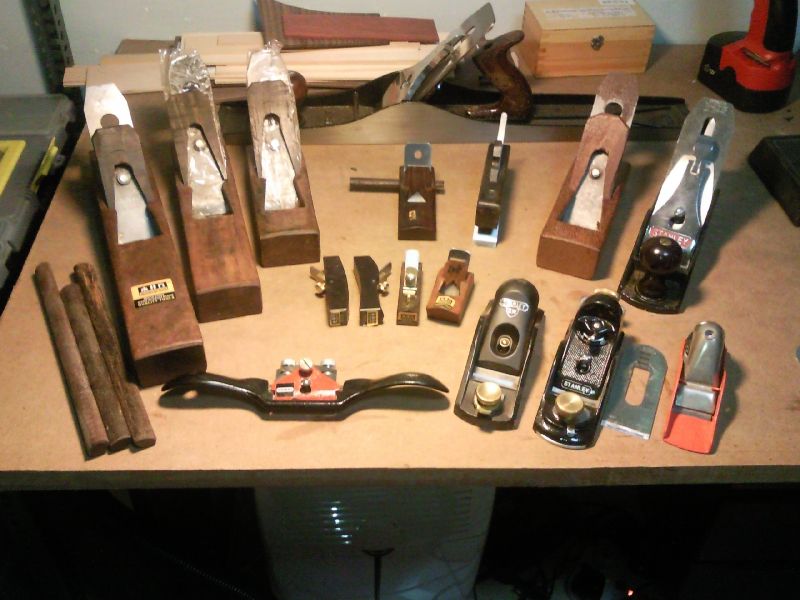
Rockler Precision Miter Gauge
A Rockler Precision Miter Gage is a must-have if you plan to make a picture frame. These handy tools make it easy to cut miters at perfect angles. Using this tool will help you get perfect corners every time and keep your box and picture frames square and aligned. Listed below are some of the benefits of this tool.
Rockler T-Track Frame Clamp
A Rockler T Track Frame Clamp can be used to attach corners to a picture framing frame. This clamp has four corner brackets, and a strong nylon band that clamps all four corners at the same time. Its raised reference points make it easier to check the frames' squareness. It is particularly useful when connecting small picture frames like those of children's toys.
FAQ
How much does a hobbyist need to invest in getting started?
You will need capital to purchase the tools and supplies you need to start your woodworking business. The best place to start is by buying a small drill press, circularsaw, circular saw or sanding machine. These items aren't very expensive, so you won't break the bank.
Where can I get free woodworking plans?
To find free woodworking plans, you don't have to buy any magazines or books. Just search Google. Simply type "free woodworking” into the search box and you'll find hundreds of websites that offer free plans.
Where can you buy your woodworking materials?
There are plenty of places where you can find everything you need to start out. For example, you could visit local hardware stores or look online at websites like Amazon.com.
You can also search flea and garage sales for furniture and other materials that can be reused.
Statistics
- Overall employment of woodworkers is projected to grow 8 percent from 2020 to 2030, about as fast as the average for all occupations. (bls.gov)
- The best-paid 10 percent make $76,000, while the lowest-paid 10 percent make $34,000. (zippia.com)
- In 2014, there were just over 237,000 jobs for all woodworkers, with other wood product manufacturing employing 23 percent; wood kitchen cabinets and countertop manufacturing employing 21 percent. (theartcareerproject.com)
- If your lumber isn't as dry as you would like when you purchase it (over 22% in Glen Huey's opinion…probably over 10-15% in my opinion), then it's a good idea to let it acclimate to your workshop for a couple of weeks. (woodandshop.com)
External Links
How To
How to make wood joint
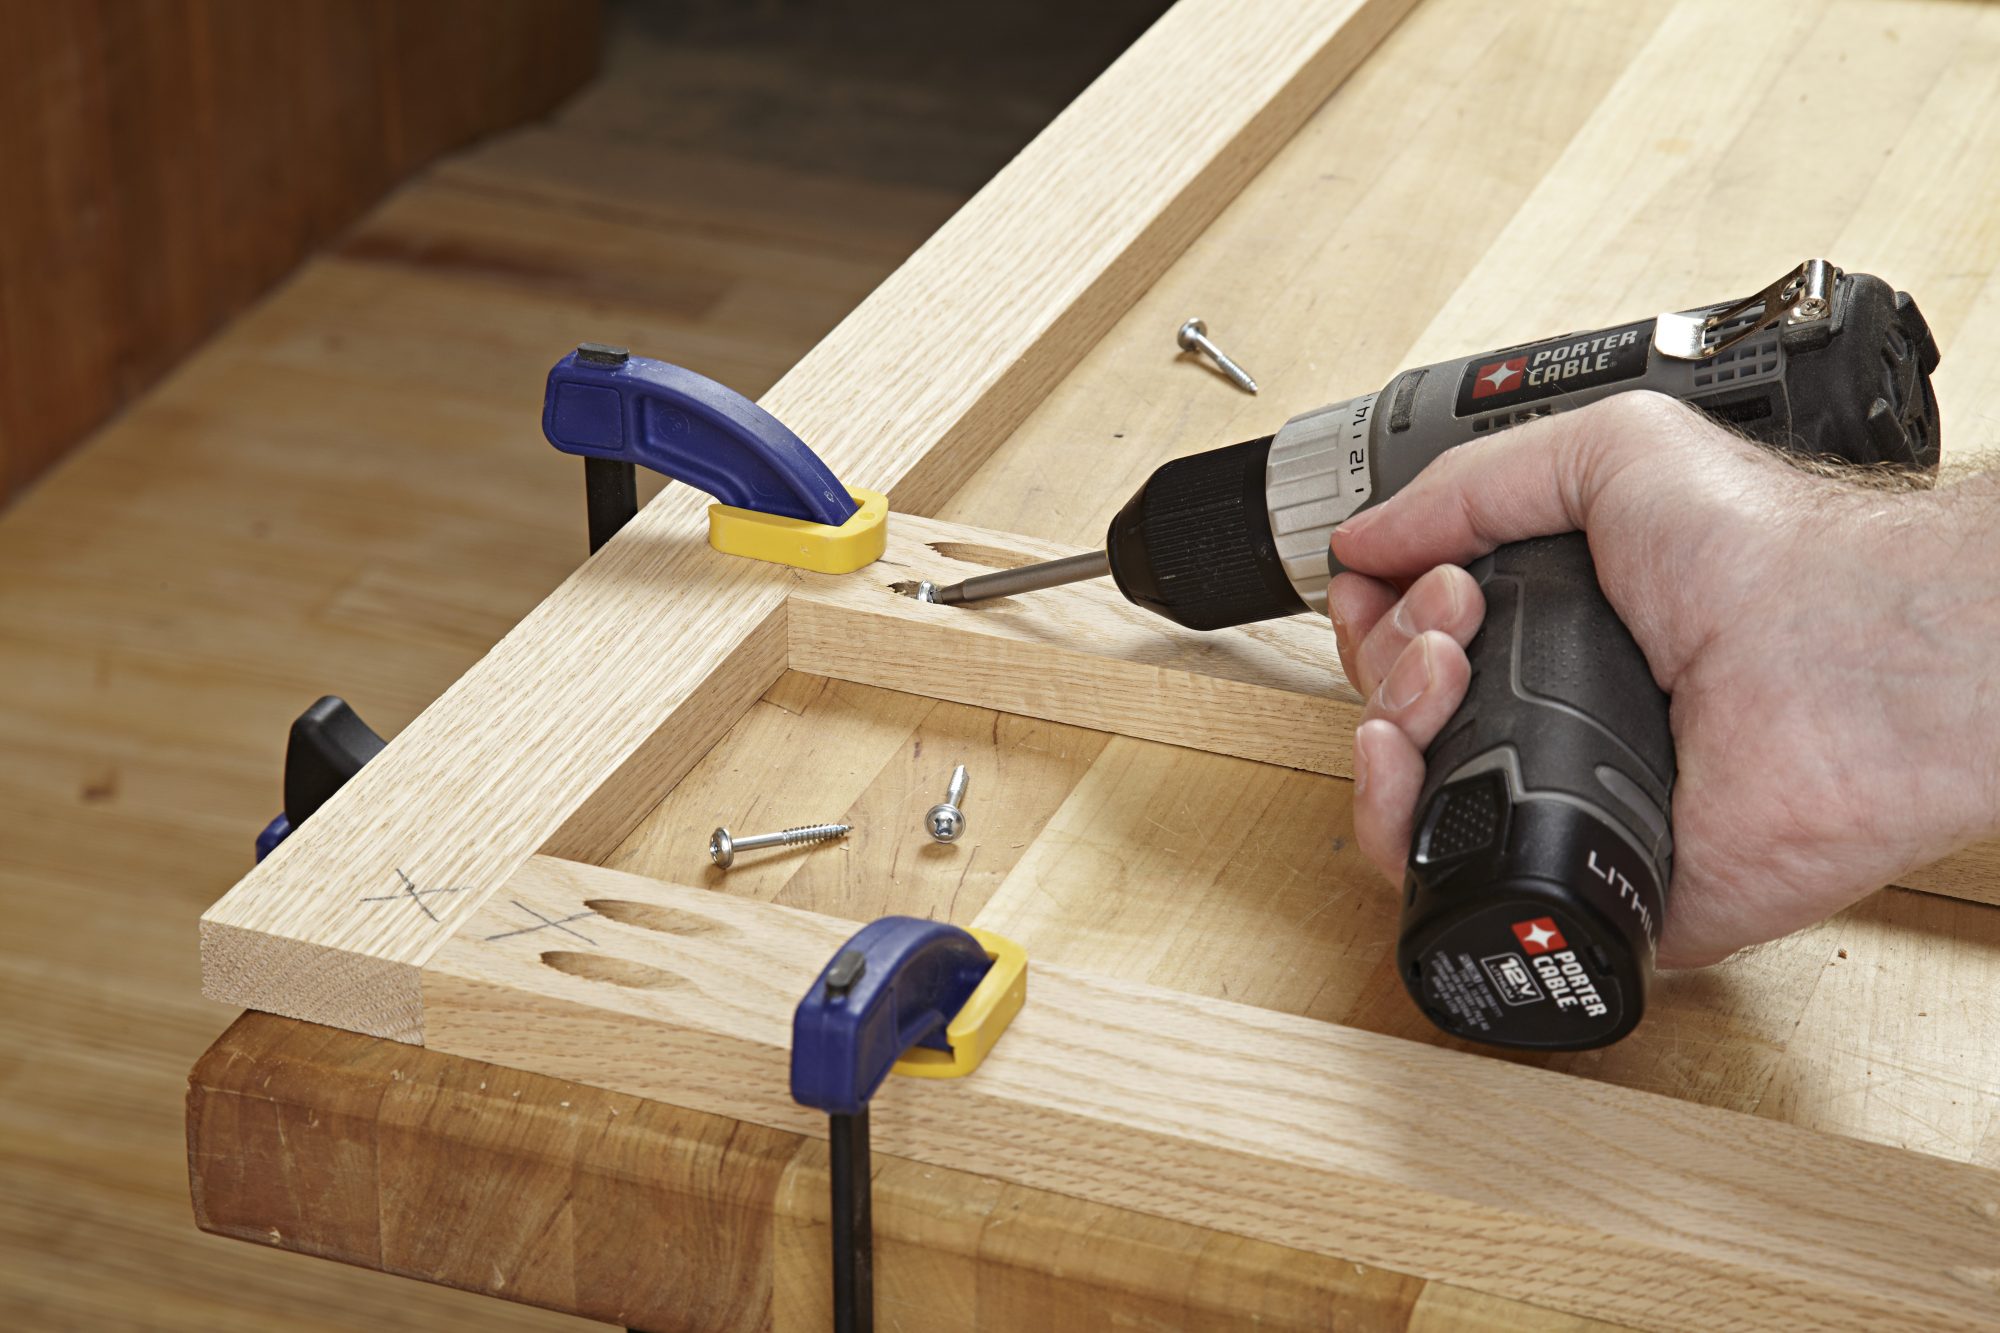
This tutorial will teach you how to join two pieces wood together. We will be using the "pocket-hole joint", which involves drilling holes in wood and then gluing them together. If your wood has a straight grain, smooth surface, you can use this method. If your wood isn't straight or flat, you might want to try another method, such as dowel joinery. These are the steps
-
Drill Pocket Hole Joints. First, measure the area where you wish to place the pocket joint. Use a jigsaw or handheld drilling machine to drill 3/8 inch deep holes at the ends of each wood piece.
-
Sand Smooth. Sanding the wood's edges will help ensure that the joint won't split later.
-
Glue the two sides of the wood together. Apply glue to both sides of the wood. Let the wood sit for 5 minutes, then clamp it together.
-
Attach the Pieces together. After the glue has dried thoroughly, secure the pieces so that they are flush.
-
Trim Joinery. After the glue dries completely, trim off any excess wood around the joint.
You should leave enough space between the pieces to allow you to turn them inside-out.