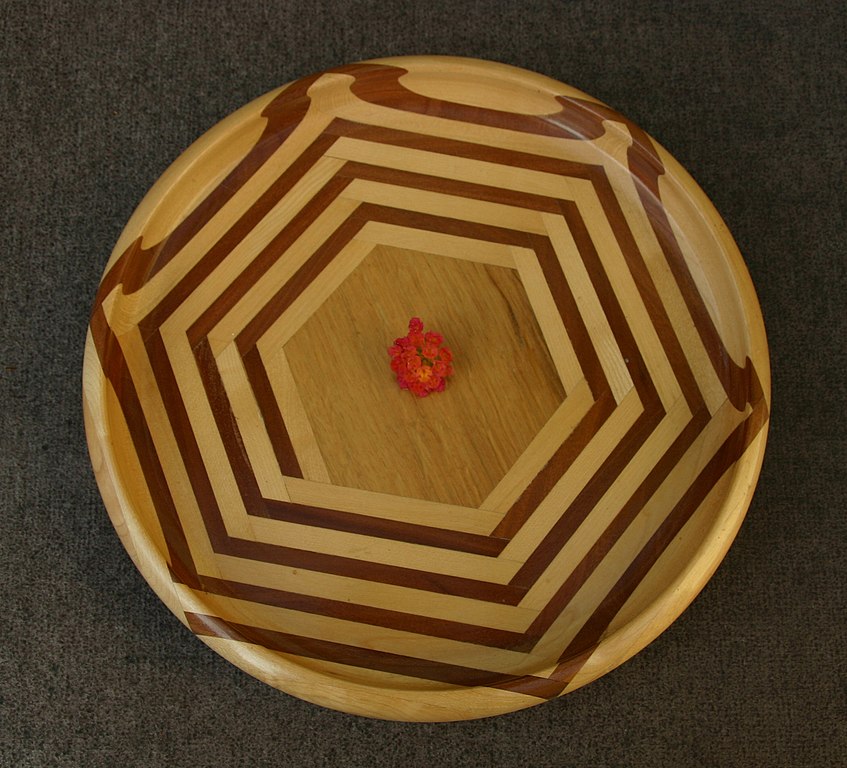
To cut shapes on plexiglas, there are many advantages to using a template routing tool. This tool can be used to quickly create complex designs using the router. This guide will discuss some of the top templates and their features. You'll also find out about Festool plunge routers and Flush-trim and pattern bits. Once you've got these handy tools, you'll be ready to get started.
Festool Plexiglas Template Routing Aid
You might be considering purchasing a Festool instrument. These tools have measurement guides and dust extraction. These features may not be necessary for you. You may not use it enough to justify its price. You might consider a simpler solution in these cases.
Festool Plexiglas Templaterouting Aid is a multi-purpose tool that can be used in a variety of ways. It can cut slots, holes, and mortises. Two adjustable fences allow for different thicknesses, while an integrated rule allows for the creation of grooves. The Festool Plexiglas Template Routing Aid will work well with any type of project.
Festool plunge routers
A popular choice for homeowners searching for a basic template tool is the plunge router. They are more user-friendly, less bulky, and weigh less that 10 pounds. These routers can be used to cut hardwoods like maple and oak. There are many options for plunge routers. They can have different plunge depths, power levels, and angles. So make sure you choose the one that is right for you. You can read the following to find out which type of plunge router is best for you.
There are many accessories for a plunger that will help you create perfect shapes, circles, or other shapes. The dust collection system for plunge routers is essential to ensure that the bit does not become clogged with debris. The plunge routers can also make perfect circles if attached to a template. These jigs come in handy for a variety of projects, including sanding and painting.
Flush-trim bits
If you want to cut veneers or laminates flush with the edge of your workpiece, a flush-trim bit is the best tool to use. These bits have an bearing at the bottom of the shank, which rides along the workpiece. The bit's sheering action makes the material fall flat and leaves a clean cut. It's like a paper saw: the base material acts the same as the table, and while the down-cutting bit is a long curving blade.
Every woodworking shop must have flush-trim bits. They are used for cutting veneers and laminates as well as shelf edging. They are useful for joining straight or smooth edges. These router bits will be the most popular in the shop. However, if you're planning on making more than a few pieces at a time, you should consider purchasing multiple bits in a variety of sizes. Flush-trim bits that measure 1/2" in diameter are an excellent choice.
Pattern bits
Pattern bits in template routing are a useful tool for producing repeatable patterns. They are made with a ball bearing mounted in the center and allow the template to be held over the workpiece and ridden along with the router bit. They're a good choice for many uses. Here are some benefits to pattern bits. They improve your visibility and allow you to have better control over the project. These bits are also compatible with handheld routers.
Combination bits feature bearings at both tip and shank. This reduces the need for you to change bits for different templates. They are available in both straight and compression cutters. You can choose from flush-trimming or pattern bearings. These router bits are much more cost-effective than spiral bits and leave a smoother work surface. You should combine a combination bit with an bearing-guided templates for best results.
Climb cuts
If you're trying to create a template from wood, you may have heard of "climb cuts." These are circular-shaped cutting techniques that produce precise and clean cutouts along end grain. They can cause the wood to be chipped or tearout. For those who aren't sure how to do climb cuts in your template routing, keep reading. Climb cuts should only be used for complex patterns.
A climb cut is the reverse of a normal feed. The bit rotates in an opposite direction from the feed. Instead of resisting material, the cutter tries accelerate it in same direction as wood. If the cut is made incorrectly, the cutter will grab the work and pull it away with immense force and speed. Climb cuts can be used to minimize tearout, as the bit enters or exits the cut face.
Adjustment between router bit und template
The offset is the distance from the router bit's cutting edge to a guide. The offset is calculated by adding the bit diameter to the guide bushing's diameter and then multiplying by two. The table below shows typical offset values for common guide-bit or router-bit combinations. Some offset values may be too high, while others might be too low. The offset in the following example will be 1/4".
The offset between router bits and template routing usually is about 1/8” or 0.35". It is vital because the bit will not fit into the bushing if it's not perfectly centered. As a result, a template is often misaligned or lopsided, making it difficult to route. You can correct this by changing the offset. You can adjust the offset to match the profile if you're trying to rout a mortise.
FAQ
Are you looking for tips to start a woodworking company?
It's not easy to start your own woodworking business. However, if you are passionate about your hobby you will be willing to put in the effort. You'll enjoy the challenge and rewards of owning your own business.
It is important to remember that unexpected problems may arise when you start a new venture. Unexpectedly, money might run out. Or maybe you'll find that customers aren't willing to pay as much as you'd hoped. Preparedness is key to survival in such situations.
One good tip is to set up a separate bank account specifically for your business. This will ensure that you always know how much money has come in.
How can you calculate the woodworking price?
It is essential to calculate costs as accurately as possible when pricing any project. Always make sure you get the best price on materials. Also, consider all other factors that can affect the price of your projects such as skill level, experience, time and cost. Check out our guide on the average cost of common DIY projects to get an idea of how much you can spend on woodwork projects.
What types of woods are best for furniture making?
Woods are classified according their hardness. Softwoods include cedar and pine as well as cedar and cedar. Because they resist rot, softwoods can be used to make outdoor furniture. These hardwoods include maple, mahogany and teak. They're generally used indoors because they won't weather well outdoors.
Is it difficult to start my woodworking business?
It is not easy to start a woodworking business. There are many laws and regulations you need to be aware of. It doesn't mean that you have to go through the entire process of starting a business. Many people choose to join existing businesses. This way, you only need to pay membership fees and taxes.
Statistics
- The U.S. Bureau of Labor Statistics (BLS) estimates that the number of jobs for woodworkers will decline by 4% between 2019 and 2029. (indeed.com)
- Average lumber prices rose about 600 percent between April 2020 and May 2021. (familyhandyman.com)
- Overall employment of woodworkers is projected to grow 8 percent from 2020 to 2030, about as fast as the average for all occupations. (bls.gov)
- If your lumber isn't as dry as you would like when you purchase it (over 22% in Glen Huey's opinion…probably over 10-15% in my opinion), then it's a good idea to let it acclimate to your workshop for a couple of weeks. (woodandshop.com)
External Links
How To
How to join wooden boards without using nails
Woodworking is a popular hobby. It is relaxing and enjoyable because you can create something useful with wood. There are times when two pieces of wood need to be joined together. This article will explain how to do this so that your woodwork projects stay beautiful.
Before joining the pieces of wood together, you will need to first trim any edges. Sharp corners can cause problems down the line. Once you've done this, you're ready to start gluing your boards together.
If you are working on hardwood, you should only use glue on one side. If you're using softwoods like pine or cedar, you should put glue on both sides. Press the boards down until the glue is fully incorporated. Before moving onto the next step, make sure the glue has dried completely.
After you glue your boards together, drill holes at the joints where screws will be inserted. These holes will differ depending on the type and size of screw you are using. For example, if you're going to use a 1/2-inch wood screw, then you should drill a hole that is at least 3/4 inches deep.
After drilling the holes, you can drive the screws into your board's backside. You should be careful not to touch the board's front surface. This could cause damage. When driving the screws, try to avoid hitting the ends of the screws too much. This will prevent splitting in the end grain of the wood.
Once your project is complete, it's time to protect it against the elements. You can either cover the entire furniture or just the top. Either way, you'll want to use a product that will last for years to come. Some examples include oil-based varnishes, polyurethane, shellac, lacquer, etc.
These products can be found in most home improvement shops. You should make sure you are getting the right type for the job. Also, remember that some finishes are toxic and should never be used indoors. Protective gear should always be worn when handling these finishes.