Many videos about woodcarving can be found online. Ian's videos are very popular as they explain the steps step-by-step. His videos are available as downloadable video files. Plans and photographs are also included. All buyers must be capable of viewing MPG videos or JPG images. He also offers books that will teach you how to carve different materials. Ian Norbury's Fundamentals of Woodcarving provides an example.
Woodcarving basics
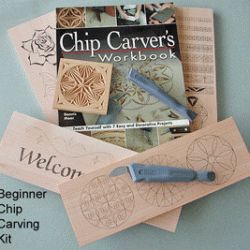
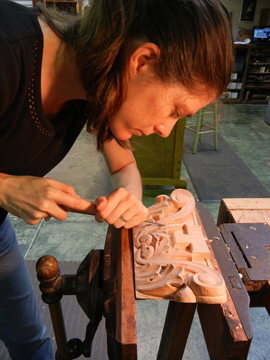
If you are new to woodcarving, you may find it helpful to consider taking a fundamentals class. This class will cover the basics of carving and can be tailored to each student's level. Before learning more advanced techniques and safety issues, you'll learn about woodcarving tools, wood, finishes and what they look like. You will learn to carve an eagle, human face, or Christmas ornament. You will also learn about the grain direction and clever ways to remove wood cleanly.
If you've always wanted to learn how to carve flowers or fruit, you might be interested in taking a woodcarving class. It's not difficult to learn the fundamentals if you have a natural talent for the craft. No matter what level you are at, you can learn the basics and design process in an enjoyable and relaxed atmosphere. A woodcarver who has spent thirty years learning the craft can tell you that the foundation of woodcarving is to find a teacher who can teach you to be a master.
Ian Norbury
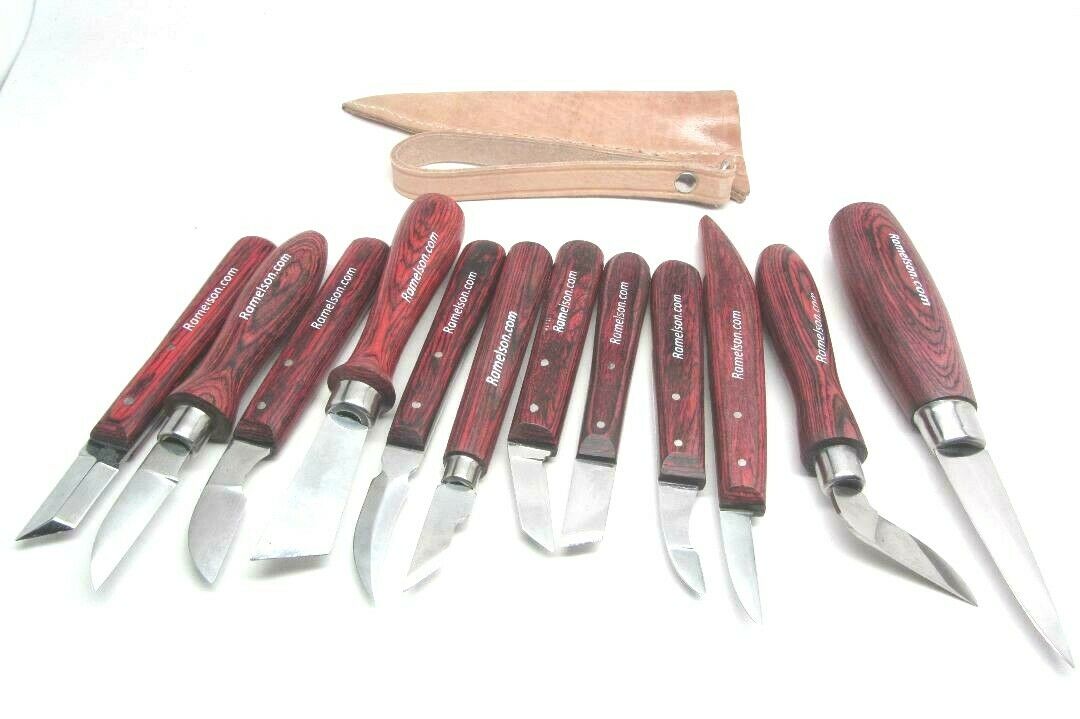
Watching Ian Norbury's woodcarving videos is like looking over the shoulder of a master carver. Each video shows you the steps and demonstrates the techniques that Ian Norbury has mastered over fifty years of woodcarving. In addition to his detailed instruction, these videos are offered free of charge, and even come with a money-back guarantee. They are available for download at any moment and can be viewed as many as you wish.
The DVD can be used as a reference tool or as a training aid. The videos include step-by-step instructions, as well as video clips of Ian Carving. The entire process can be seen from start to finish. Ian's teaching method is also easy to follow, and he shows you how to carve a harlequin, or depict a character from a myth. You have over two hours worth of instructional videos that will help you improve your technique.
Frank Russell
Frank Russell's woodcarving videos can be helpful for intermediate and beginner carvers. His techniques cover many subjects including woodcarving animals as well as birds and plants. He also shows how to shape and clean bits. Videos show the process of carving as well as how to create visual concepts. Frank Russell's videos are available on DVD or streaming online. Fur, Feathers & Fins is the best guide to carving birds, other animals.
Frank Russell's videos on woodcarving are great resources for both beginning and advanced carvers. These videos contain detailed step-by-step instructions for beginners and tips for advanced carvers. These videos were shot with Foredom Woodcarving Kits. They feature a variety tools including Typhoonburs, CeramCut Blue abrasive point and many other tools. This series also features a Cotton Tail Rabbit carving clip.
Scott Phillips
Scott Phillips woodcarving videos will provide more information. Scott Phillips is featured on "American Woodshop", a PBS TV show that showcases his woodcarving abilities. Scott talks about his first woodcarving adventure, how he used his father’s expensive walnut boards and how his love for baseball inspired him to create his first decorative jewelry box. Scott has also written a book about shuttle history. Scott will also write a book called "Remove Before Flight". Although his woodcarving career has taken flight, he still occasionally builds other types of furniture, including clocks and Adirondack chairs.
Kevin Coates
Kevin Coates makes woodcarving videos. He has over seven million YouTube views and nearly 26,000 subscribers. Many woodcarvers have been inspired by his videos to create their own woodcarving videos. To learn how to carve a piece of your own art, watch these videos. These videos showcase carvings by Kevin Coates as well other well-known carvers. You won't find better carving videos than these.
FAQ
How do I determine what kind of wood my project is made from?
Always check the label before purchasing wood. The label should contain information about the wood species, its moisture content, and whether it has been treated with preservatives.
What time does it take for furniture to be finished?
It all depends upon the size of your piece of furniture. A smaller project like picture frames or boxes can be completed in a single day. Larger projects, such as desks and dining tables, can take several days. It takes time to stain and seal the wood properly.
Is it difficult to start my woodworking business?
It can be difficult to start your woodworking business. There are many regulations and legal requirements that you will need to comply with. You don't have to go through all that hassle of setting it up. Many people decide to join established businesses. This allows you to join existing businesses and pay only membership fees.
How much does a hobbyist need to invest in getting started?
A lot of capital is required to purchase the necessary supplies and tools if you want to start your own woodworking shop. You can start by purchasing a small table saw and drill press as well as a circular saw, circular saw, jigsaw and sanding machines. These items won't break the budget and aren't expensive.
What is the difference between a hobbyist or a professional woodworker, and how can you tell?
Hobbyists are passionate about making things from wood, while professionals tend to be more focused on the quality and craftsmanship of their work. Hobbyists often take pride in the creations they make and often share them to family and friends. Professionals will spend hours looking at designs before they start to build a project. They will meticulously plan every detail of their work from choosing the right materials to finishing it.
What tools do I need to start as a woodworker and what should I learn?
Woodworking is an art form that requires patience and practice. Learning how to use the various tools and techniques necessary for woodworking takes patience.
There are many different types of woodworking equipment available on the market today. Some prefer power tools while some prefer hand tools.
The choice is yours, but you must ensure you choose the right tool for the job. If you don't have any experience, you may consider starting with a basic set of hand tools.
You might also want to learn how a router works, which allows you to cut wood into intricate shapes. These tools can be purchased at most hardware stores.
Statistics
- Most woodworkers agree that lumber moisture needs to be under 10% for building furniture. (woodandshop.com)
- The best-paid 10 percent make $76,000, while the lowest-paid 10 percent make $34,000. (zippia.com)
- Average lumber prices rose about 600 percent between April 2020 and May 2021. (familyhandyman.com)
- If your lumber isn't as dry as you would like when you purchase it (over 22% in Glen Huey's opinion…probably over 10-15% in my opinion), then it's a good idea to let it acclimate to your workshop for a couple of weeks. (woodandshop.com)
External Links
How To
How to join hardwood without using nails
Woodworking is a popular hobby. It is relaxing and enjoyable because you can create something useful with wood. Sometimes you may want to join two pieces together of wood without using nails. This article will explain how to do this so that your woodwork projects stay beautiful.
Before joining the pieces of wood together, you will need to first trim any edges. Sharp corners can cause problems down the line. Once you have done that, you can begin gluing your boards together.
You should only glue one side of hardwood. If you're using softwoods like pine or cedar, you should put glue on both sides. Apply the glue to the boards and press them down until they are securely attached. Be sure to let the glue dry before you move on to the next step.
Once you've glued your boards together you will need to drill holes in the joints to accommodate screws. These holes will differ depending on the type and size of screw you are using. For example, if your screw is a 1/2-inch wooden screw, drill a hole that is at minimum 3/4 inches deep.
Once you have drilled the holes, the next step is to drive your screws through the joint into the board's backside. Do not hit the boards' front surfaces. It will ruin the finish. Try to not hit the ends of the screws when driving the screws. This will help prevent splitting of the end grain.
You'll need to protect your completed project from the elements. You can either cover the entire furniture or just the top. You will want to choose a product that will be durable for many years. Examples include oil-based varnishes and polyurethanes, shellac, lacquer and others.
These products can usually be found at any home improvement store. It is important to ensure that you purchase the correct product for the job. Some finishes are toxic and should not ever be used indoors. When handling certain finishes, wear protective gear.