Patented Negative Rake Carbide Cutters are a game changer in the woodworking world. These cutters are safer and more smooth, making it possible for man-made and super-hard woods to be turned without the need to sand. Also, smooth cuts mean that the job is completed in a shorter time. Negative rake cutters can be safer than traditional carbide cutters and are easier to use.
Cutting forces can be decreased by using positive rake carbide chopper
Carbide cutters with positive rake angles are better for reducing cutting forces, since they reduce chip load and can sustain higher cutting forces. Because a positive-rake cutter edge is thicker than its counterpart, these types of cutters are better at chip reduction. However, the chip reduction ability of positiverake carbide cutters is only a qualitative indicator. It depends on other factors including the wedge's strength and thickness. The positive rake has a thinner wedge that is more susceptible to breakage due to high chip load and vibration. The thinner wedge also breaks down during impact loading, resulting in a poor machining productivity.
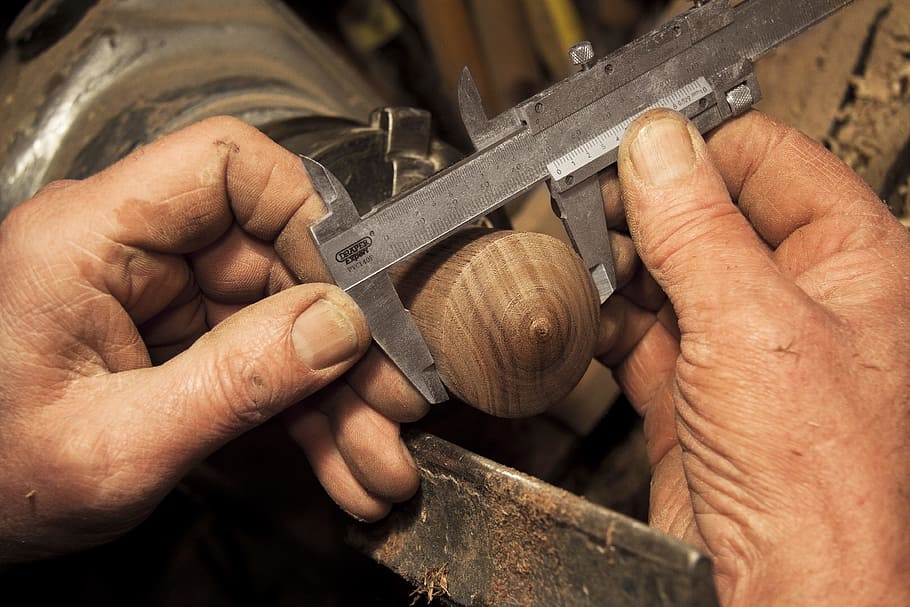
The rake angle is the relative orientation of the cutting face to the work. There are two types of rake angles. Positive rake signifies that the angle taken by the rake should be less than 90 degrees. The negative rake carbide cutter is characterized by a blunter cutting edge and a less sharp rake. Both negative rake cutters and positive ones have their advantages and disadvantages.
Cutters made of negative rake carbide are better for cutting
Negative rake carbide cutters are a great choice if you want to achieve a safe and smooth cut. These tools are made to create a smooth cut, and can also be used to turn man-made and super-hard materials. These tools will simplify your work and reduce the need to catch and chip. These cutters will last a lifetime. An average Negative Rake Carbide Cutter will last around 80 hours of constant turning.
Easy Wood Tools invent the negative rake carbide cutting tool. This type of cutter cuts harder woods and acrylics better, with a longer cutting life. These cutters are also equipped with a 4-inch countersunk machine screw. This carbide cutter has the best three G's in Carbide. These cutters are a great investment in your woodworking projects.
TiN carbide cutters reduce cutting forces
TiN carbide cutters have lower cutting forces than traditional tools. However, TiN carbide cutting speeds do not directly affect the cutting force. Process parameters like cutting speed have a larger impact on the cutting force. Therefore, a signal to noise ratio (SNR), model was used. This model allows you to calculate the effect of cutting parameters on forces.
Researchers looked at the cutting capabilities of two kinds coated carbide tools. The one with uncoated carbide was examined while the other had Titanium Nitride, (TiN), coating. They used optical microscopy and machine vision to measure flank and crater wear, and then monitored cutting forces using a dynamometer. The TiAlN carbide tool had the best response to cutting force.
The experiment revealed that the temperature change in the TiN-coated tungsten caride cutters with different cutting parameters. Line I heats up slowly at 280360/min, while Line J heats up quickly at 320440/min. This increase in tooth-feeding rate was responsible for the TiAlN tools' higher cutting temperatures.
Authentic Easy Wood Tool - Negative Rake Caride Cutters
The Authentic Easy Wood Tool negative rake carbide cutters are a great choice if you're looking for a high-quality cutting tool. These tools are manufactured in the USA and are designed for use with the Easy Wood Tools Mini and Pro Size Roughers and Micro Detailers. To ensure the highest performance and durability, negative rake carbide cutters have a smoother finish and fewer "grabs."
Easy Wood Tools has a range of carbide cutters. They reduce chipping, catch and other problems that can arise when working with manmade materials. These cutters reduce chipping, sharpening is unnecessary, and they provide a very smooth finish. The carbide cutting edges are supported directly under the workpiece. This allows the wood to absorb the pressure. Easy Wood Tools carbide cutters with negative rake are great for woodturning projects.
FAQ
Do I need to be a genius to succeed in woodworking?
No. Woodworking is not difficult. You can create beautiful pieces of art by learning how to use simple power tools.
How do you know which type of wood you are working with?
Always verify the label on wood purchases. The label should provide information about the wood species, moisture content, and whether preservatives have been used.
How much should a woodworker charge per hour?
Hourly rates for professional woodworkers vary depending on many factors such as skill, experience, availability, geographical location, and other variables.
A skilled woodworker can expect an hourly rate of $20-50.
A less skilled woodworker can charge as low at $10 an hour.
Statistics
- In 2014, there were just over 237,000 jobs for all woodworkers, with other wood product manufacturing employing 23 percent; wood kitchen cabinets and countertop manufacturing employing 21 percent. (theartcareerproject.com)
- If your lumber isn't as dry as you would like when you purchase it (over 22% in Glen Huey's opinion…probably over 10-15% in my opinion), then it's a good idea to let it acclimate to your workshop for a couple of weeks. (woodandshop.com)
- Overall employment of woodworkers is projected to grow 8 percent from 2020 to 2030, about as fast as the average for all occupations. (bls.gov)
- Most woodworkers agree that lumber moisture needs to be under 10% for building furniture. (woodandshop.com)
External Links
How To
How to join wood without using nails
Woodworking is a popular hobby. It is relaxing and enjoyable because you can create something useful with wood. You may need to join two pieces without the use of nails. This article will teach you how to do this to keep your woodwork projects looking great.
You will first need to trim the edges of your wood pieces before joining them. You don't want to leave sharp corners that could cause problems later on down the road. Now it's time to start glueing your boards together.
If you are working with hardwood, only one side should be glue. Use glue on both the sides for softwoods, such as cedar or pine. Apply the glue to the boards and press them down until they are securely attached. After applying the glue, let dry the boards before proceeding to the next stage.
After you glue your boards together, drill holes at the joints where screws will be inserted. Depending on what type screw you choose, the size of these holes will depend on how big they are. If you are going to use a half-inch wood screw, you will need to drill at least 3/4 inch deep.
Once you've drilled your holes, you'll want to drive the screws through the joint and into the backside of the board. Be careful not to hit the front surface of the board, or else you'll ruin the finish. Be careful not to drive the screws too hard at the ends. This will prevent splitting in the end grain of the wood.
Protect your finished project now. You can seal the furniture pieces or cover the top. You will want to choose a product that will be durable for many years. There are many options: oil-based varnishes; polyurethane; shellac; lacquer.
You can find these products at most home improvement stores. You should make sure you are getting the right type for the job. Remember that some finishes can be toxic, so you should not use them indoors. When handling certain finishes, wear protective gear.